How to Upgrade Your Old Fence with WPC Fencing: Step-by-Step Guide
Introduction
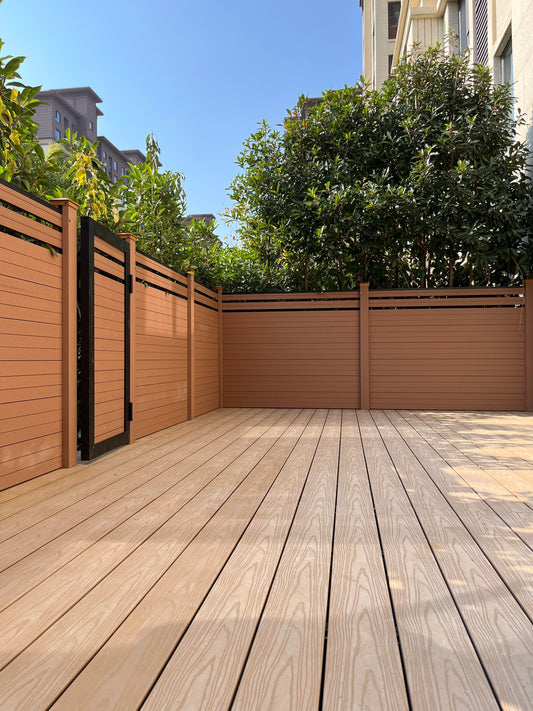
Upgrading your old fence doesn’t have to be a daunting task. With WPC (Wood Plastic Composite) fencing, you can achieve a modern, durable, and low-maintenance fence without replacing the entire structure. WPC boards combine the beauty of wood with the durability of plastic, making them perfect for both residential and commercial properties. In this guide, we’ll show you how to install WPC fencing on your existing fence structure step by step.
 Materials and Tools You’ll Need
Before you begin, gather the following materials and tools:
-
WPC fluted wall panel boards (with tongue-and-groove design)
-
Galvanized square tubes (for support frame)
-
Anti-rust paint
-
L-shaped edge trim
-
Dovetail screws
-
Electric drill and screwdriver
-
Measuring tape
-
Saw (if you need to cut boards or tubes)
-
Safety gloves and goggles
Having all materials ready will make the installation process smooth and efficient.
 Step 1: Install the Main Support Frame
First, weld some galvanized square tubes at the top and bottom of your existing fence. These will serve as the main supports for your WPC boards. Properly welded tubes ensure that your fence is stable and can withstand external forces such as wind and impact.
 Step 2: Apply Anti-Rust Paint
After welding, it’s essential to protect the metal parts from rust. Use anti-rust paint to cover all welded sections and exposed metal. This step will extend the lifespan of your fence and keep it looking new.
Step 3: Attach WPC Boards
Next, take your WPC boards and connect them using the tongue-and-groove system. This design ensures a seamless fit and prevents gaps. Use dovetail screws to fix the boards directly onto the square tubes.
-
Ensure the square tubes are spaced about 30 to 60 centimetres apart.
-
Remember: the closer the tubes, the stronger and more durable your fence will be.
 Step 4: Install the L-Shaped Edge Trim
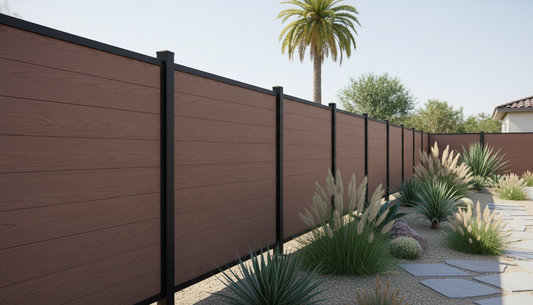
Finally, put on the L-shaped edge trim at the top of your fence. Fix it with screws to give the fence a polished, professional look. The edge trim also provides extra stability and protects the ends of the WPC boards.
Step 5: Finishing Touches
Once all boards and trims are installed, check for any loose screws or uneven boards. Clean the surface to remove dust and debris.
Tips for a Successful Installation
-
Measure twice, cut once: Ensure all tubes and boards are cut to the correct length before installation.
-
Safety first: Wear gloves and goggles when cutting, welding, or drilling.
-
Regular maintenance: WPC fencing is low-maintenance but cleaning occasionally with water and mild soap will keep it looking new.
-
Choose quality materials: High-quality WPC boards and galvanized steel tubes are crucial for long-term durability.
Conclusion
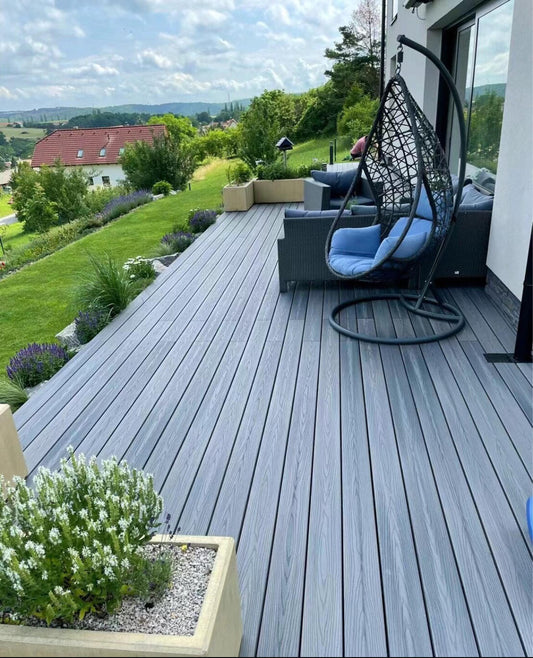
By following these steps, you can transform your old fence into a modern, durable WPC fence. The process is straightforward, cost-effective, and can dramatically improve the appearance of your property. Whether you want a stylish garden fence or a strong perimeter barrier, WPC fencing is the perfect solution.
Tags:
Previous
Why Composite Fencing Is the Perfect Solution for South America's Extreme Climates
Next
7 Hidden Dangers in Wood–Plastic Composite Manufacturing